…
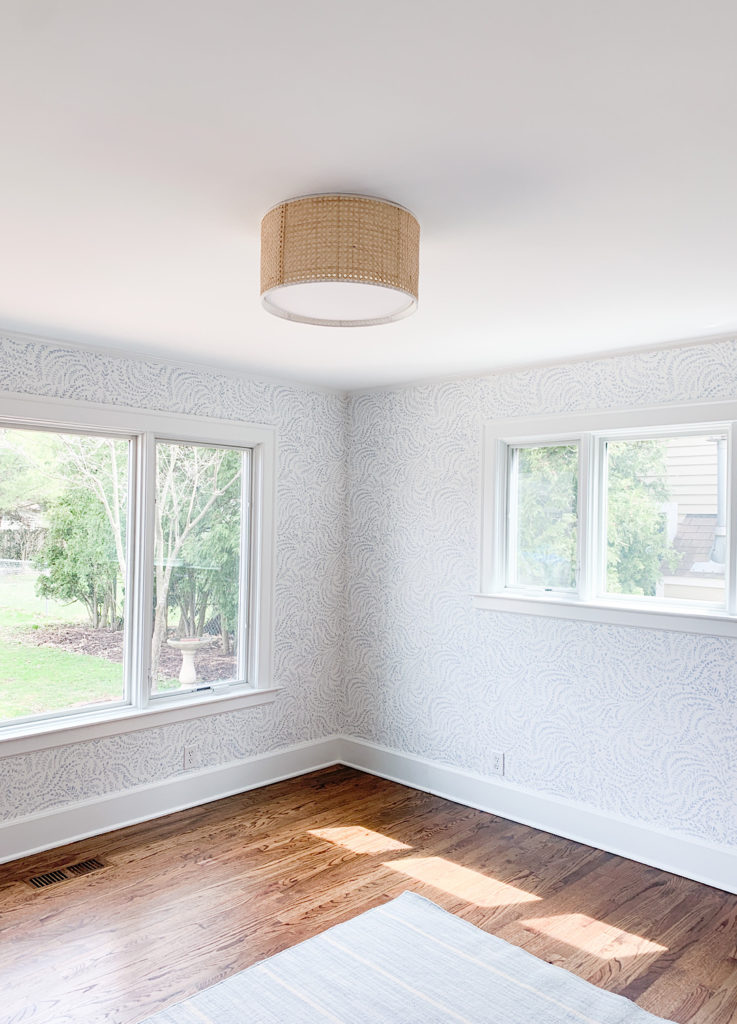
I am so excited to share our secret on how to update wood paneling today!! Our room was a huge transformation and I couldn’t be happier with the end result so I wanted to share a blog post on exactly what we did to achieve it. You would never know that under this beautiful wallpaper there was wood paneling! Mind blown! I am also going to share the total cost of this project. I really hate when people don’t share that. It is subject to your contractor, area, size of room, problems that might arise etc. but I think it’s just nice to have a general idea of what the cost might look like. Always find a trusted contractor (I found mine through a friend who recommended them) and don’t be afraid to get multiple quotes either.
Backstory
I knew immediately when we bought our home that our back room, we’ve been calling it the den. My Dad likes to call it the multi purpose room lol. Anyways, the den had old wood paneling and over the years it was painted a dark blue. I like that they at least tried to update the space a bit by painting it, but it was still so ugly. I don’t know what people were thinking back in the day, but wood paneling is just UGLY. To me, I think this is how we are going to feel about shiplap in a few years. I despise shiplap almost as much as wood paneling! Eventually, I knew we would update this room.
My initial thoughts were to rip about the wood paneling and add drywall. I wanted smooth walls. At first, I was thinking I wanted to paint the space a dark navy (I had decided on Benjamin Moors Hale Navy– which is a beautiful navy!). The room has a lot of windows so I knew a dark color would work.
Then I decided to order a sample of this wallpaper. I have been in love with this wallpaper for so long and I knew once we moved that I would use it somewhere in our home. At first, I was going to use it in our powder room which needs to be completely gutted. It would have been beautiful. But once I got a sample of this wallpaper, I knew it would look gorgeous in our den. The colors were perfect and how it flowed with the rest of the home.
How to Update Wood Paneling
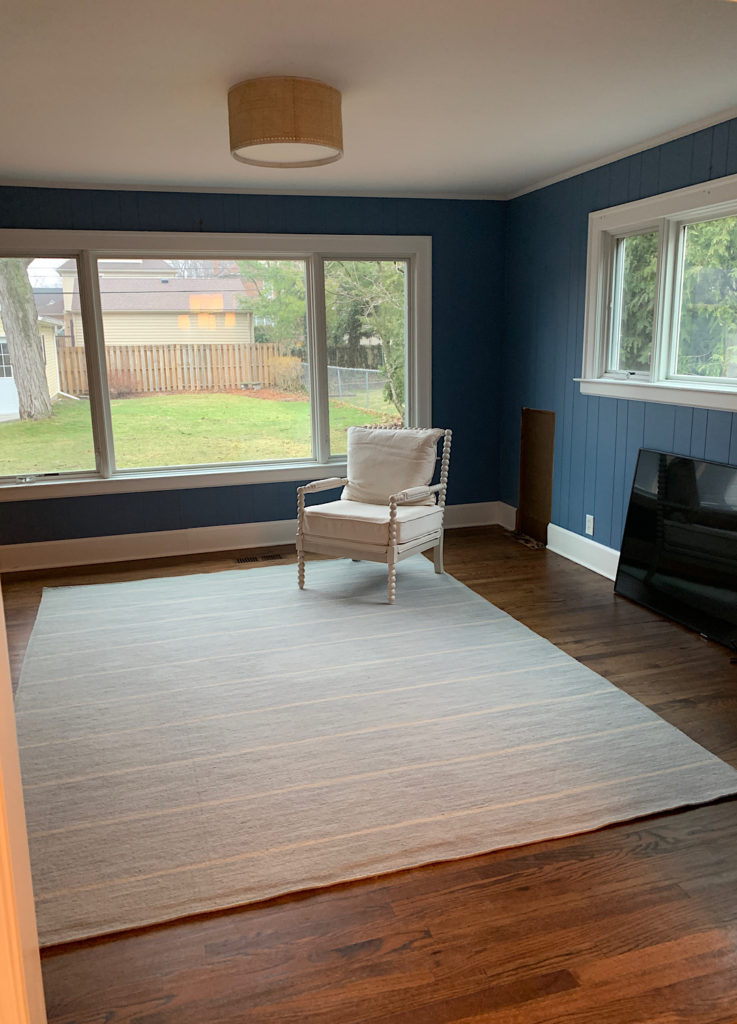
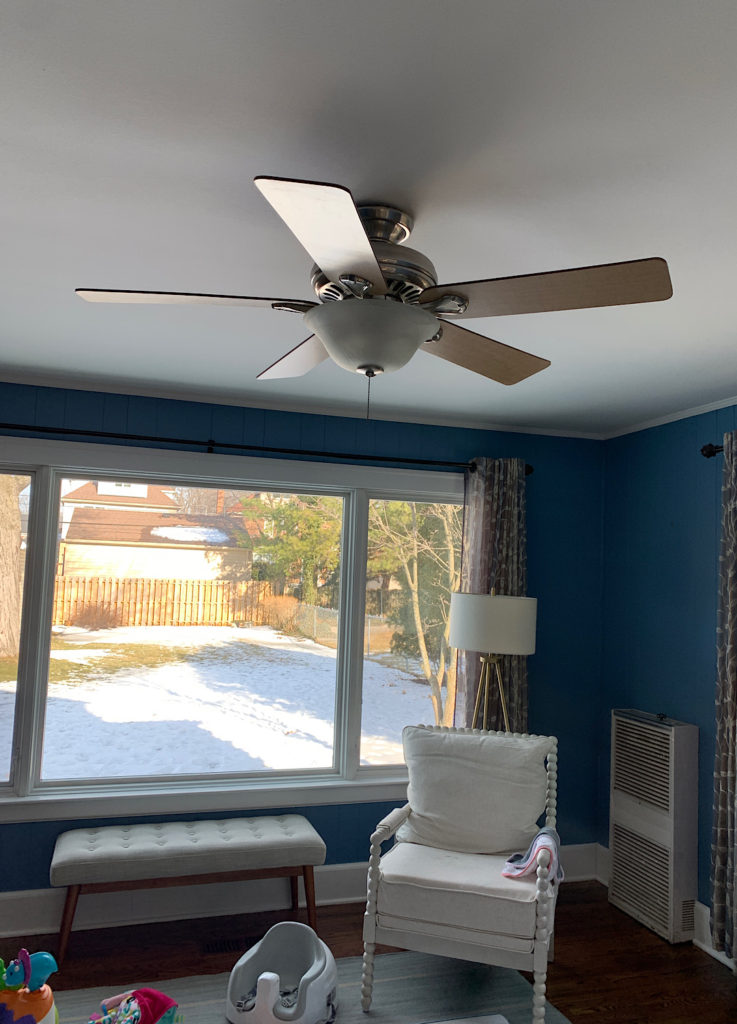
This was our before. You can notice the seams in the walls from the paneling and the ugly heater in the corner of the wall!
…
Once I had a general idea of what I wanted to do with the room, I had a meeting with my contractor. I told him I wanted to rip out the wood paneling, add drywall and then add wallpaper. And he had the best idea ever- keep the wood paneling, mud over the seams in the walls, sand it down so the walls were smooth and then add the wallpaper. It was genius!! He told me that we could still add drywall, but the quote he gave me was going to be double. And he had a really great point- once you open up old walls, you never know what is behind them. Meaning that quote could end up being a lot higher in the end because you just never know what is going to happen.
The Process
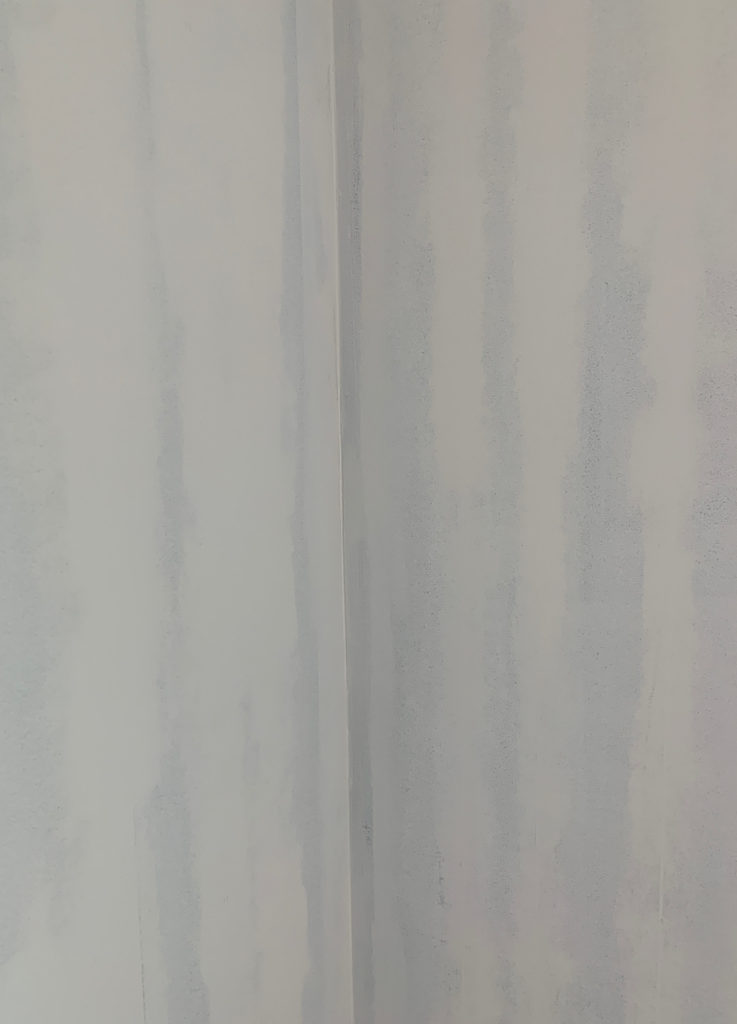
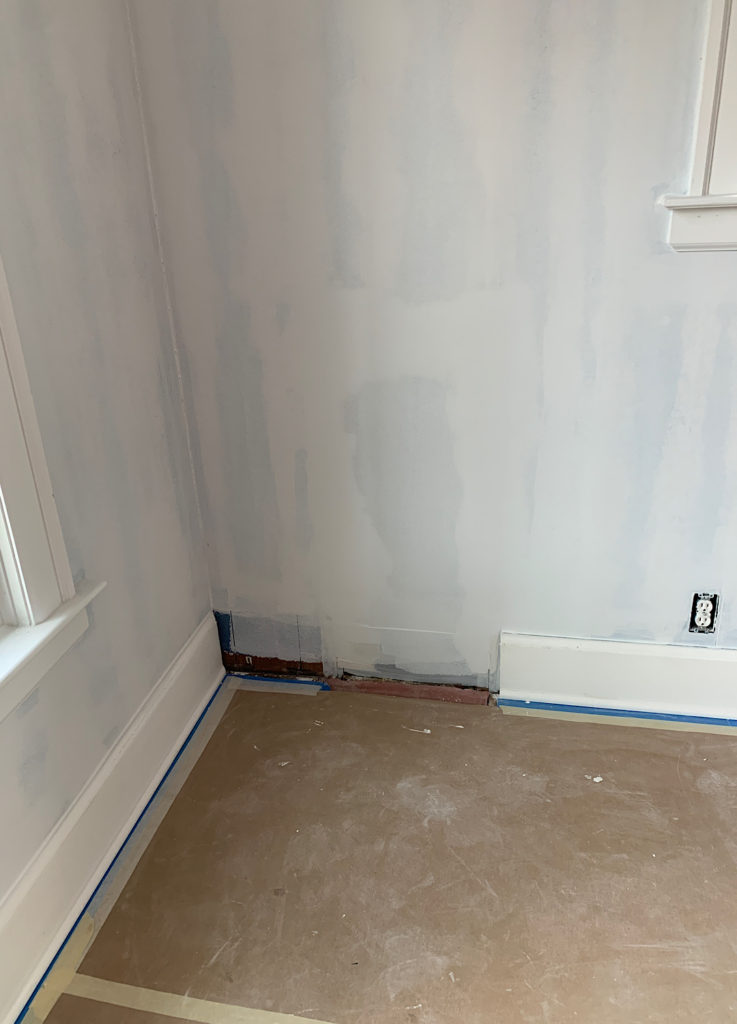
This is what the room looked like after the walls were mudded and sanded. Don’t let the lines in the walls fool you- they are smooth!
…
The process was actually very quick in my opinion. It look about a week for the walls to be completed and also wallpapered which I thought was really quick. The first day was all about prep. They covered my hardwood floors with paper and taped everything off. This is really important. You don’t want anything to happen to your beautiful floors. We just had our floors redone when we moved last June so I was not about to take any chances!
The next day they mudded in the seams. I don’t think I realized it, but there were four guys in our room that day mudding. They happened to finish that day but I think it’s because they had so many working on it. Day 3 once the mudding dried over night, they were able to sand. It took two guys an entire day to sand. It got pretty sandy even though they put coverings up over the doorways which was annoying. The following day, day 4, they were able to paint our trim and ceiling and I believe they did a coat of primer on the walls. Likely because the paint we had previously had was dark and I didn’t want that to come thru once the wallpaper was up.
After the walls were complete, we were able to wallpaper! That took him about a day to complete. He was really fast and a very seasoned wallpaper installer. He did an amazing job so I would definitely hire him again. In fact, I plan to use him again when we re-do our powder bath in a few months! (stay tuned for a post when that time comes)
Extras
There are always ‘extras’ or specific things that need be done on any project. In our case, it was removing the wall heater. That thing was soooo ugly!! And it didn’t even work. We think that when they originally did this addition to the house, they didn’t have heat back there. So they added this heater to make it warm in the winter time. At some point, they added hardwood floors to this room and also heating.
So we had some extra costs in this project because of that heater. We had the heater removed from the wall. And then the heating and cooling guy had to come out to turn off that gas line. This heater actually went to the outside of our home. So they had to put a board up and seal this so nothing leaks into our home when it rains.
Right now this is just a board in our house. But honestly, for now, it’s fine. It is the side of the home that no one sees- maybe our neighbors. But there are a lot of plants there so I doubt they do. We plan to tackle this and make it look a little better when we do some outside work to the house. Eventually, we will paint the home (we want to make it white and keep the black shutters) so we will make this look a little nicer when that time comes.
Once the heater was removed, we had to also fix our floors in that area. It was a small space, but still kind of expensive! He had to add wood and the re-stain it to match. And we also had to add trim. Our carpenter actually took a piece of our the trim we currently had and they were able to match it pretty perfectly. This corner didn’t have to be absolutely perfect in my opinion because we plan to have our couch on that wall. But I’m glad we didn’t skimp on anything just in case we decide to move furniture ever or plan a different layout. And let’s be serious, couches are expensive so it might take us a while to actually buy one!
Cost of Project
Ok, here is the total cost of our project.
- Mud over seams, sand, caulk, paint ceiling trim- $3180
- Remove and cap off gas line from heater- $495
- Install new molding where heater was- $180
- Install wallpaper- $975
- Cost of wallpaper- $863
- Seal and caulk exterior siding (this was the outside part where the heater was)- $280
- Total cost- $5973
Not a cheap project by any means but instead of around $3000 to mud over the seams, it was going to be between $5k-$7k to add drywall. So this is a huge cost savings!!
I absolutely love how this room turned out. It is so much brighter back here and just so pretty. I can’t wait to decorate it now!
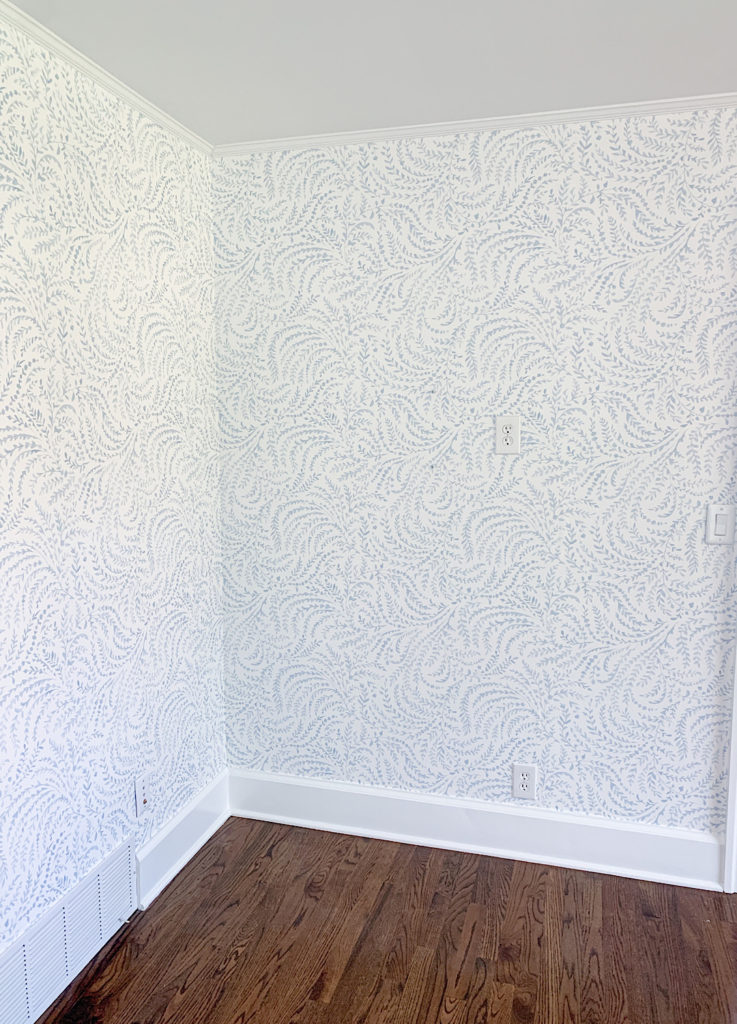
Enjoy these pretty after photos of our space!
xoxox Amanda
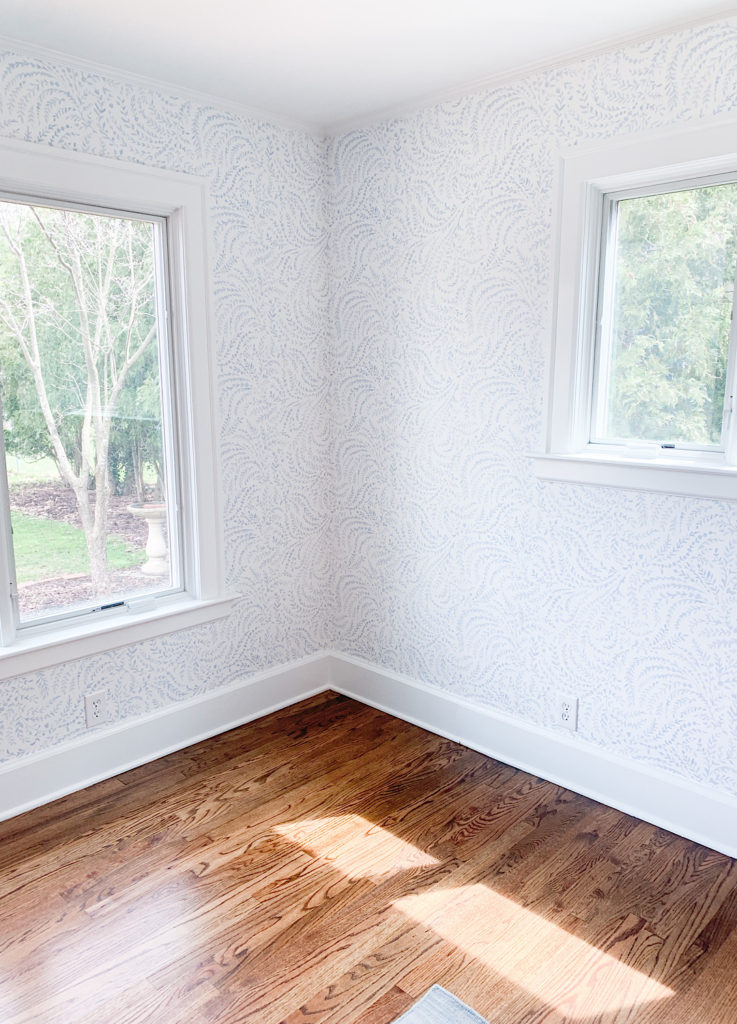
This is the same corner the heater was in! You would never know it was there. There is still a small piece of trim that needs to be caulked and painted which I will do at some point when the contractors are back out. Was too good not to share!
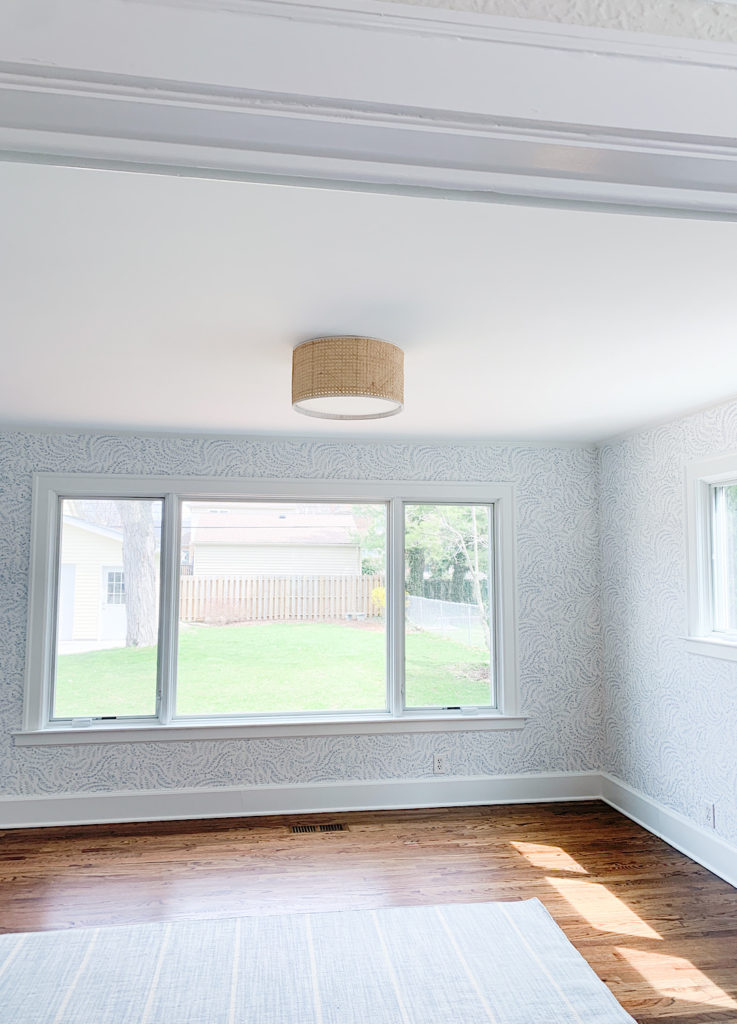
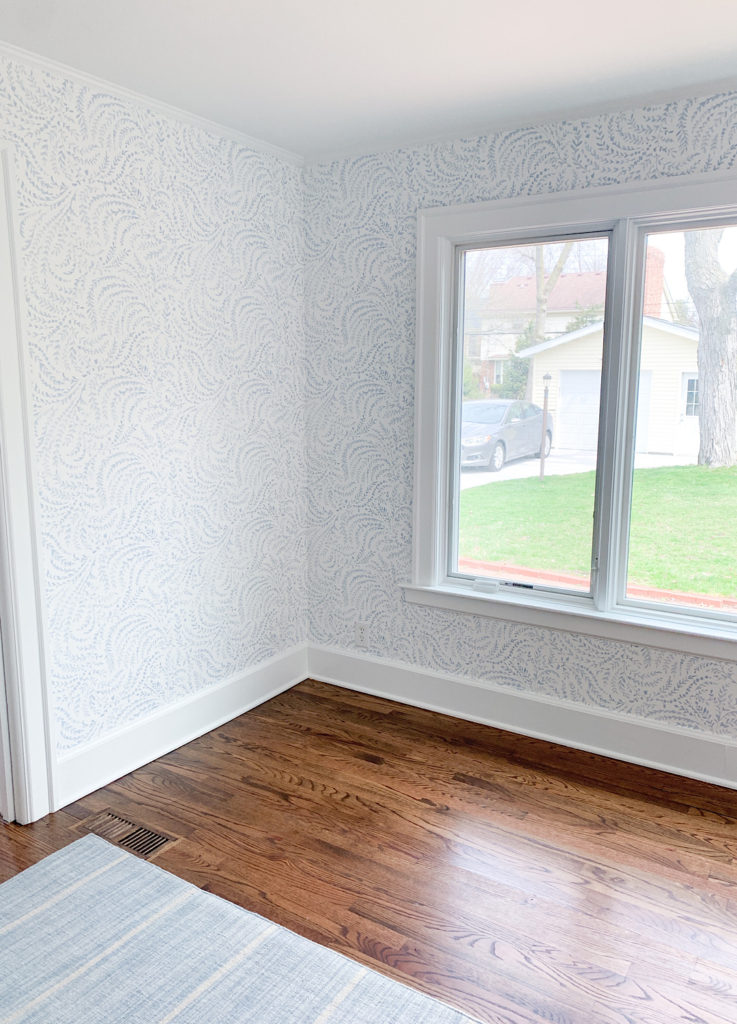
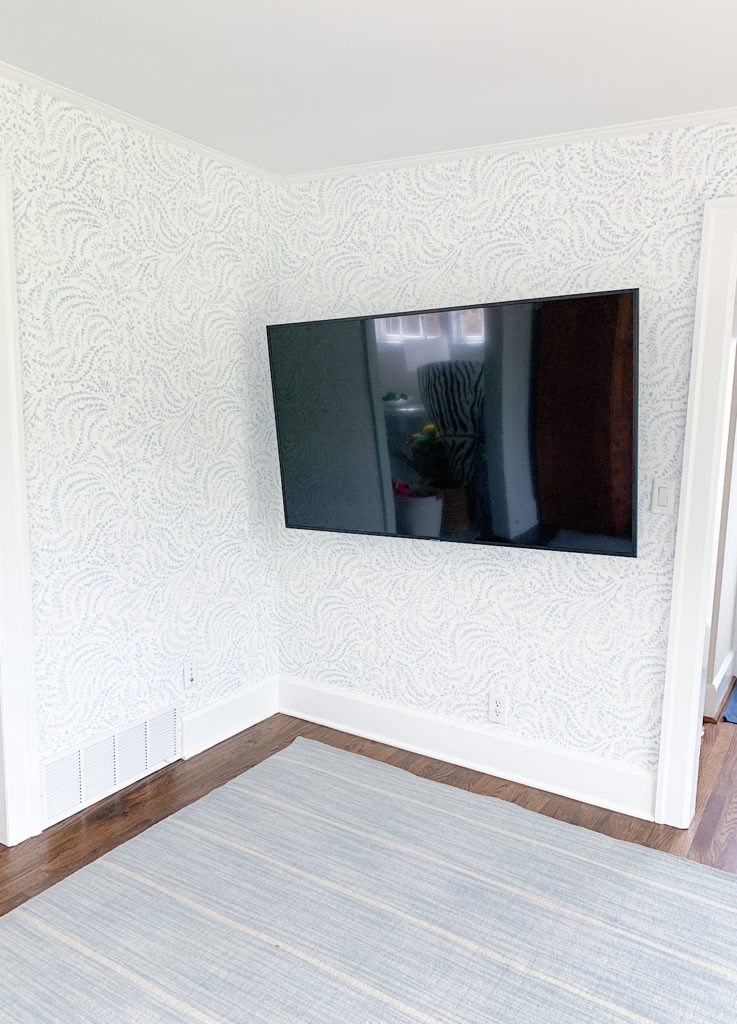
I plan to get something to put under this TV to hold all of Sloane’s toys. Am thinking this with some baskets.
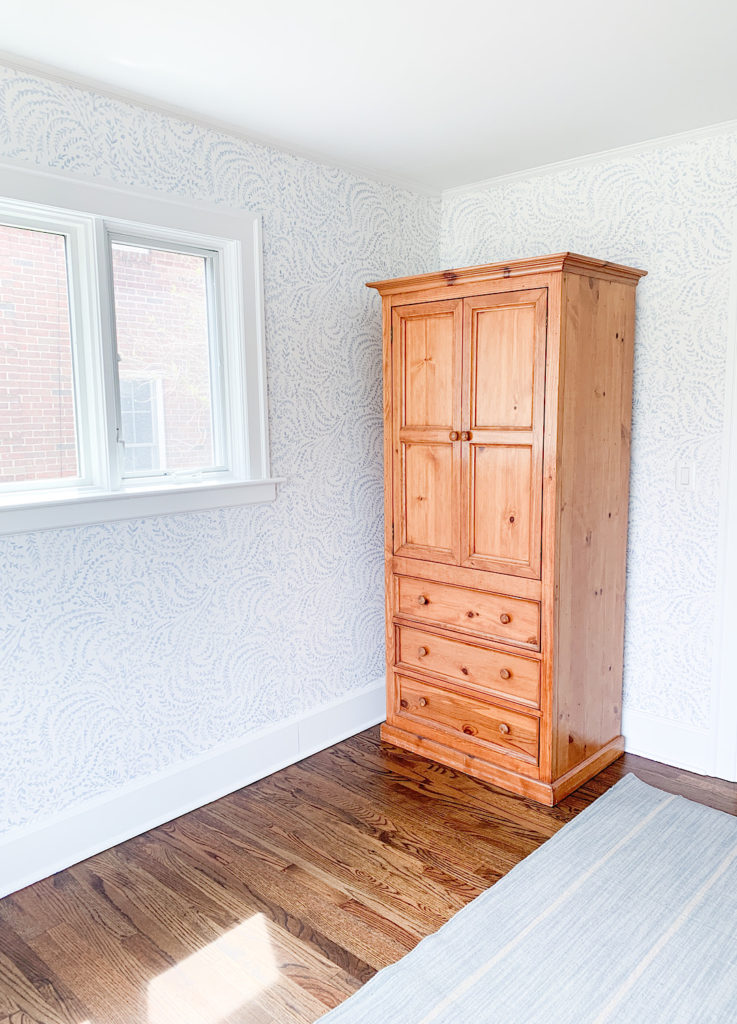
I’m not sure if we will end up keeping this piece in this room, but for now it’s great for storage!
You may also like 2022 Home Renovations Wish List or Paint Colors in Our Home